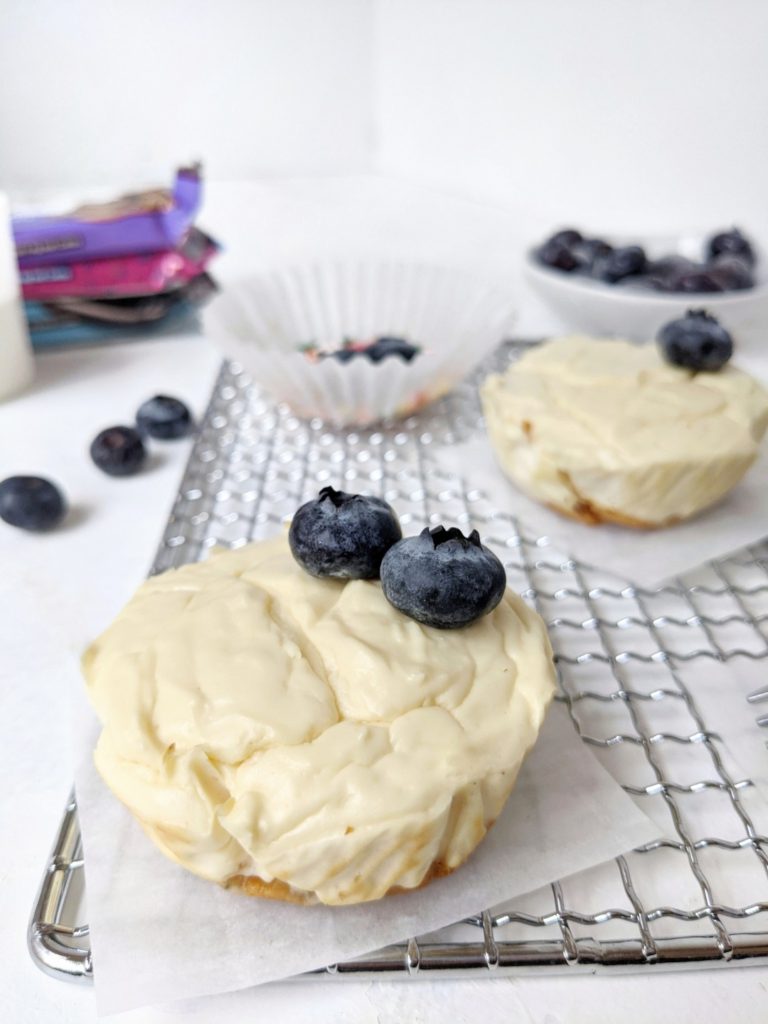
Mini Protein Cheesecakes with a Protein Bar Crust – easy, healthy, high protein cheesecake bites made with greek yogurt and protein powder, and a protein bar for the crust! These mini cheesecakes are made in a muffin tin and perfect for a single serve or small batch baking. Gluten-free and sugar-free too!
Jump to Recipe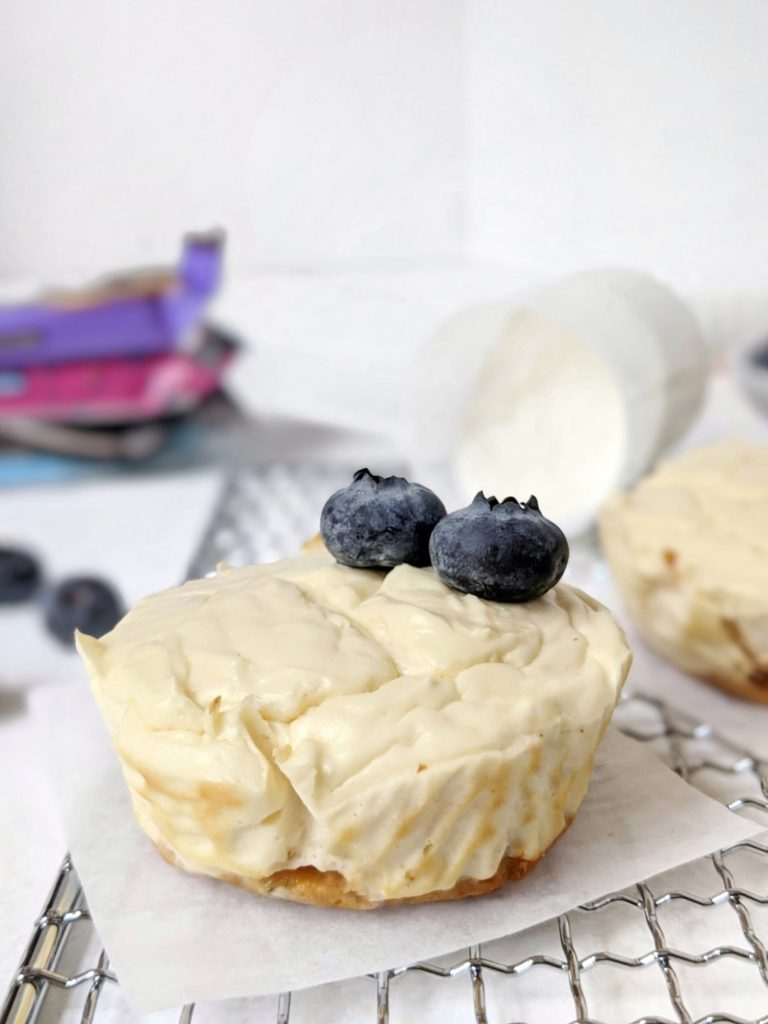
This is without a doubt the most healthy and high protein cheesecake recipe you can find!
Protein bar so no crust and hence no butter; Low fat cream cheese; Greek yogurt and no sour cream!
I didn’t bother with trying a cheese cake for the longest time coz I just associated it with “unhealthy”.
So much fat – Cheese? Butter in the crust? Sour cream in the filling?
Basically everything fixed here.
I am so in love with this recipe I’m already thinking of what other cheesecake variations to go for next.
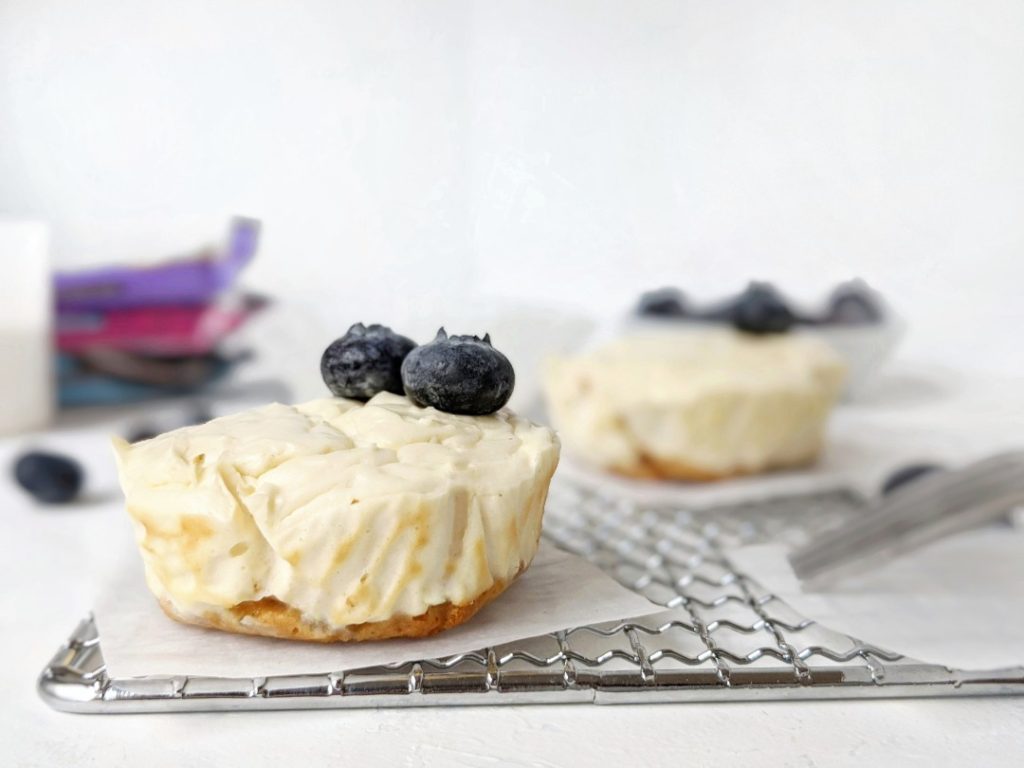
A Protein Bar Cheesecake Crust?
Yes! These high protein cheesecake cups are made with a protein bar crust; There’s no graham crackers and no butter needed in this recipe since you don’t have your normal crust.
One thing to note though is that not store bought protein bars would work here, since some might just melt away with the heat. Or get an odd texture.
I used a protein bar from Quest Nutrition for this mini protein cheesecake recipe – the birthday cake to be specific – because they’re quite known for being baked. All those Quest bar cookies out there.
Another benefit of using this Quest is that it makes this protein powder cheesecake keto friendly, low carb and gluten free too.
If you want a more homemade recipe, try my chickpea cookie dough protein bars.
To make the protein bar crust for these mini cheesecake cupcakes:
- Preheat your oven to 350°F.
- Line 8 cups of a muffin tin with parchment paper or cupcake liners greased with cooking spray.
- Tear each protein bar into 4 pieces, roughly flatten to a round shape, and place one in each cup.
- Bake the bar for 2 minutes.
- Once the protein bars have softened, use the back of a spoon to press them down and spread evenly across the bottom to form the crust.
- LET IT COOL!
Completely. To speed up the process, let it cool at room temperature for 2-3 minutes and them place it the muffin tin in the freezer for about 5 minutes.
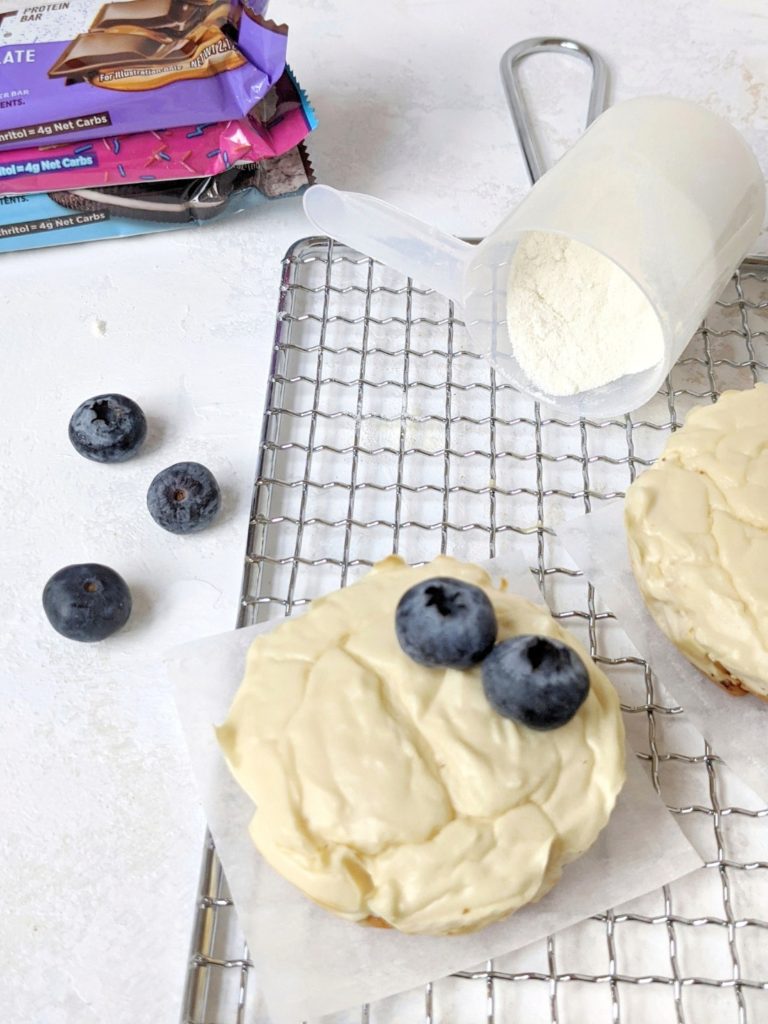
Ingredients for Mini Protein Cheesecakes Filling:
These light and skinny cheesecake minis are made with Greek Yogurt and Protein Powder, and has no sour cream and no sugar added like the normal recipes.
Here’s what you need for the 5 ingredient healthy cheesecake filling:
- Reduced Fat Cream Cheese for a low fat and low calorie cheesecake recipe
- Non-fat Greek Yogurt to add the slightly sour flavor, creaminess and even more protein! You need this here because the recipe is without sour cream.
- Almond Milk
- Eggs
- Vanilla Protein Powder – this makes for a sugar free protein cheesecake since it serves as the sweetener in place of sugar. I used the vanilla protein powder from Quest for this recipe.
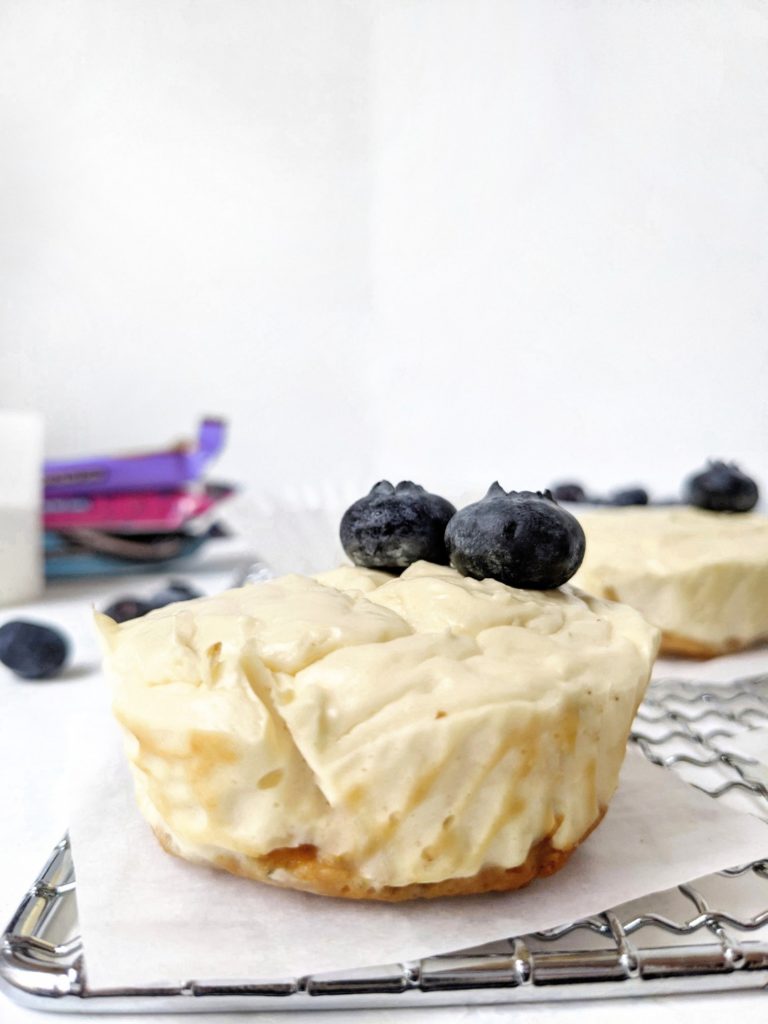
How to make these High Protein Mini Cheesecakes
I’ve been hesitant to make a cheesecake because I thought the process was extremely complicated.
Thankfully this recipe for mini Greek Yogurt cheesecake is super easy because there’s no springfoam pan and no bake box, i.e. waterbath, needed.
Here’s how to make and bake the mini cheesecakes in a muffin pan:
- Beat the softened cream cheese in a large bowl using a hand mixer until it’s completely smooth. This should take about 2 minutes
- Add the greek yogurt and milk and beat again
- Now add the protein powder and beat again (scrape down the sides so it’s all mixed in)
- Add the egg whites and beat again to make the final cheesecake filling. Do not over beat here.
- Spoon the protein cheesecake filling into the cupcake cavities (after the protein bar crust has cooled), and smoothen the tops.
- Bake your cheesecake bites for 15 minutes. The centers should be just soft to the touch.
Things to keep in mind for this Protein Powder Cheesecake Recipe:
- Let the protein crust cool
You don’t want to add the cheesecake filling to the crust when it is still warm or it will get a weird texture on the bottom.
- Use room temperature ingredients
The cream cheese, yogurt and egg whites all need to be at room temperature or you will end up with lumpy cheesecake cups.
- Beat the cream cheese well
You really want to do this step so the cheesecake turns out light and fluffy and does not get weighed down by the other ingredients.
- Don’t over-mix the final batter!
This will cause too much air to get beat into the batter, and may cause the cheesecakes to rise and fall. These cups end up like of like pure cheesecake muffins, so a sunken center might not look pretty.
- Use a low speed to beat
If you don’t use the low speed setting on the hand mixer or paddle stand mixer, you will get too much air inside.
Can you store these Mini Protein Powder Cheesecake Bites?
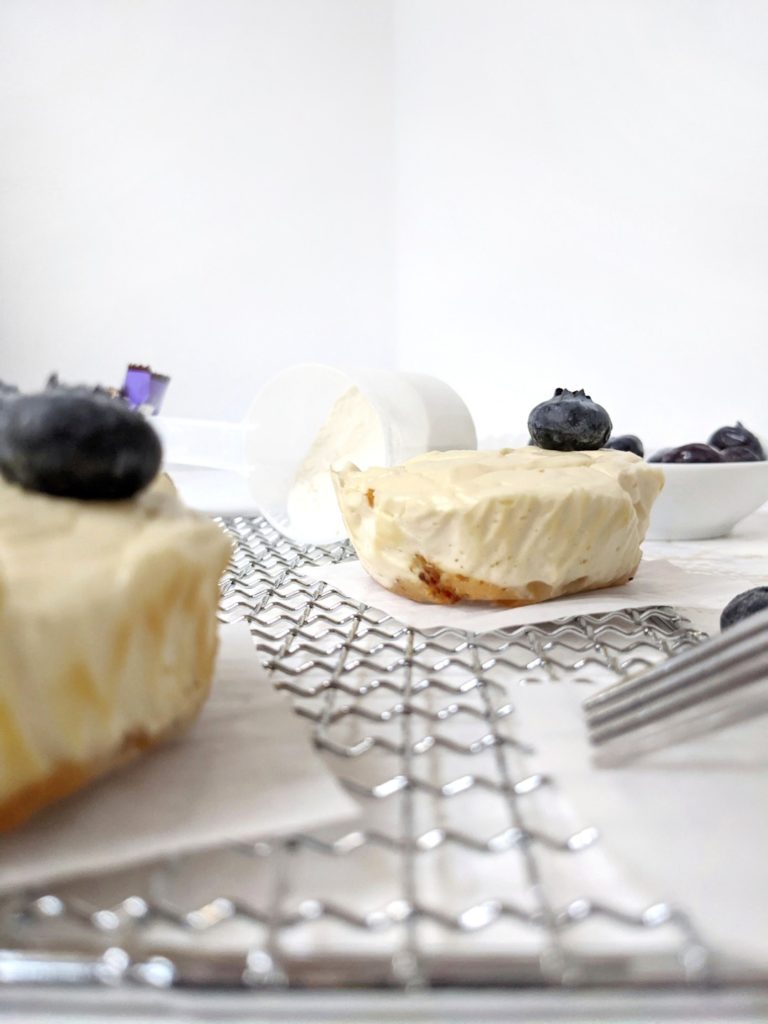
Yes. You can make these ahead of time and keep them in the fridge for 3 or 4 days in an airtight container.
These skinny protein cheesecake cups are freezer friendly too! Wrap each one in plastic wrap, and place in a freezer-safe zipper bag. They’ll last for 2 or 3 months.
Serving ideas for Protein Cheesecake Cups?
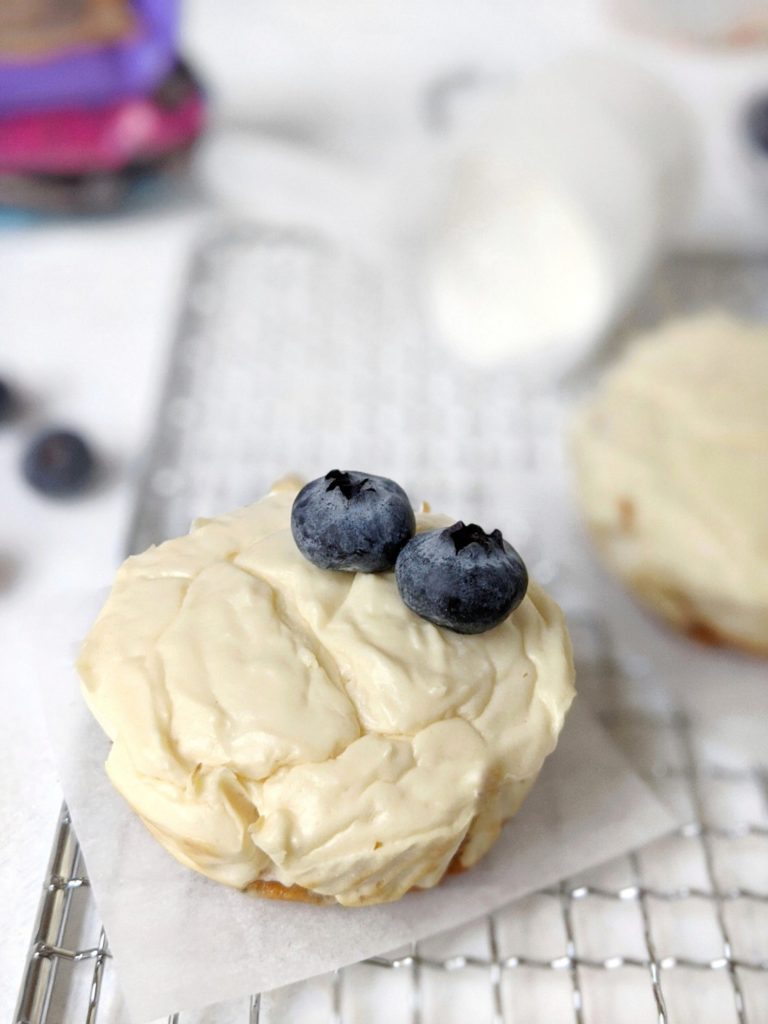
These mini cheesecake bites make a great single serve cheesecake for one for a controlled and healthy treat. We all love a good individual cheesecake now don’t we?
They’re also perfect to serve at a party – no mess and no sharing involved.
Make a small batch of these in your muffin tin or cupcake tin for date night and you have a special cheesecake two!
Some more healthy Protein Powder and Cream Cheese recipes to try:
- Protein Pumpkin Cake with Protein Cream Cheese Frosting
- Healthy Protein Powder Cream Cheese Frosting
- Carrot Cake Oatmeal Baked Donuts (Gluten-Free)
Mini Protein Cheesecakes with Protein Bar Crust
Ingredients
- 2 Protein Bars, Quest Nutrition recommended
- 8 oz Softened Cream Cheese, Reduced Fat recommended, 225g, about 1 cup
- ½ cup Non-fat Greek Yogurt, 112g
- 2 tablespoon Almond Milk
- 1 scoop Vanilla Protein Powder, 30g, ⅓ cup
- 1 Egg
Instructions
- Preheat oven to 350°F, line a 8-cup muffin pan with cupcake liners or parchment liners.
- Tear each protein bar into 4 pieces, roughly flatten and shape, and place in muffin cups.
- Bake for 2 minutes to soften protein bar.
- Press down protein bar onto bottom and spread evenly using back of a spoon. Allow to cool 2 minutes, then place in freezer to cool completely – about 5 minutes.
- Reduce oven temperature to 325°F.
- In a large bowl, beat cream cheese using an electric hand mixer or paddle attachment of stand mixer until smooth; About 1-2 minutes.
- Add Greek yogurt and milk and beat again until combined.
- Beat in vanilla protein powder, scraping down the sides if needed.
- Add egg and beat until just combined. Do not over-mix.
- Use a spoon to divide the cheesecake batter among muffin cups, filling about about ¾ way to the top. Smoothen tops.
- Bake for 15 minutes. Center of the top should be jiggly or soft to the touch.
- Cool for 10 minutes, then remove pan. Transfer to a wire rack to cool completely, about 15 minutes.
- Place in the fridge for a couple of hours to chill, then enjoy!
Notes
- Nutrition value is calculated using reduced fat cream cheese and products recommended below.
- Let the cheesecake cool completely before storing so they remain fresh.
- Fridge: 3 days in an airtight container.
- Freezer: 3 months, wrapped in plastic wrap and then placed in freezer bags.
- Quest Nutrition Birthday Cake Protein Bar
- Quest Nutrition Vanilla Milkshake Protein Powder
- Servings: 8 mini cheesecakes | Serving size: 1
- Calories: 145kcal
- Fat: 8.1g | Saturated fat: 5g
- Carbohydrates: 7.1g | Fiber: 3.5g | Sugar: 0.6g
- Protein: 12.4g

Leave a Reply